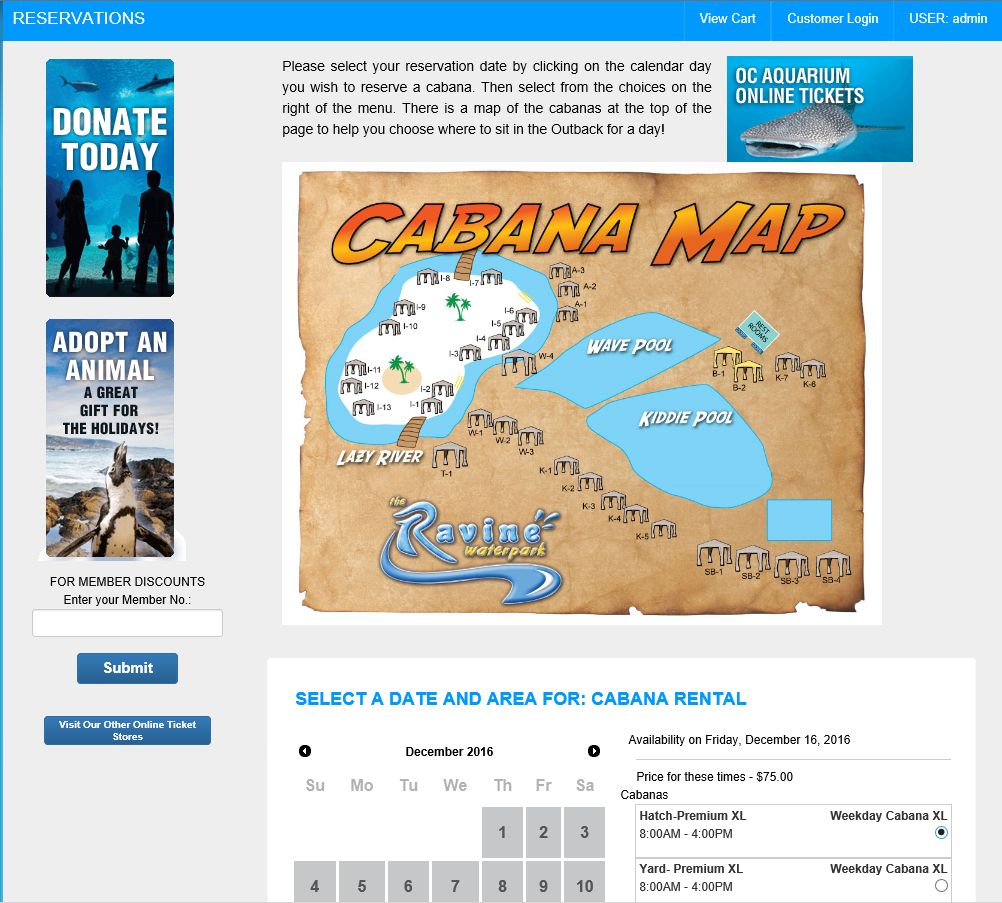
Add a Cabana Map to Cabana Selection/Calendar ScreenAdding a cabana map to the cabana selection/calendar is both easy and useful. Although the cabana map isn't an interactive map with hyperlinks, it can be used to show your customers the location of the various cabanas you have to offer. Some customers may want to reserve a cabana by the kiddie pool if they have small children. Maybe they want a cabana next to the lazy river. A map of your park and the location of each cabana will help your customer choose the right cabana for them.
Step 1. Create cabana products and define cabana areasMake sure you have your cabana areas and cabana products defined and created in your ticketing system.
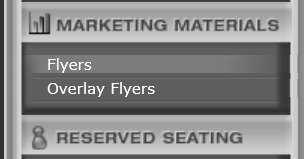
Step 2. Upload your cabana map into your management dashboard.Step 2a. Log into your management dashboard. Your user account must have permissions enabled to upload flyers.
Step 2b. Under the
Marketing Materials section, click on the
Flyers link.
 Step 2c.
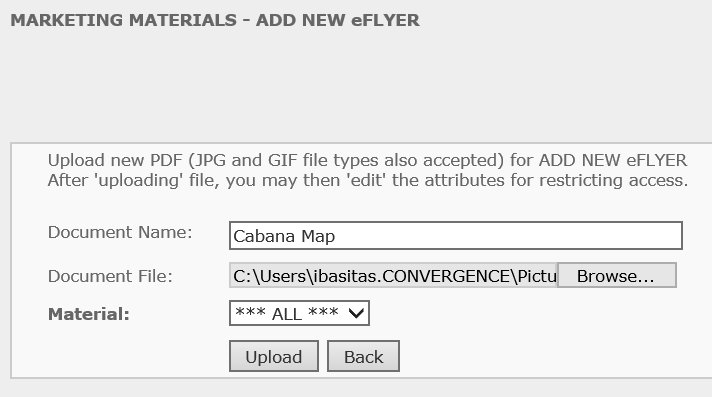
 Click on the
New button to add a document/image
Enter a document name such as, "Cabana Map".
Click on the
Browse button and locate the cabana image from your computer.
Next, click on the
Upload button.
 Step 3. Copy the location of map image to clipboard
The purpose of the previous step was to place your image in the cloud. This allows you to reference the image from a location on the internet. Once you've uploaded your image to the management dashboard, you can view the image in the
Marketing Materials - Listing. To see this listing, just click on the
Flyers link again in the
Marketing Materials section.
 Step 3a.
 Click on the name of the image in the list
Step 3b. The image will be displayed in your browser window
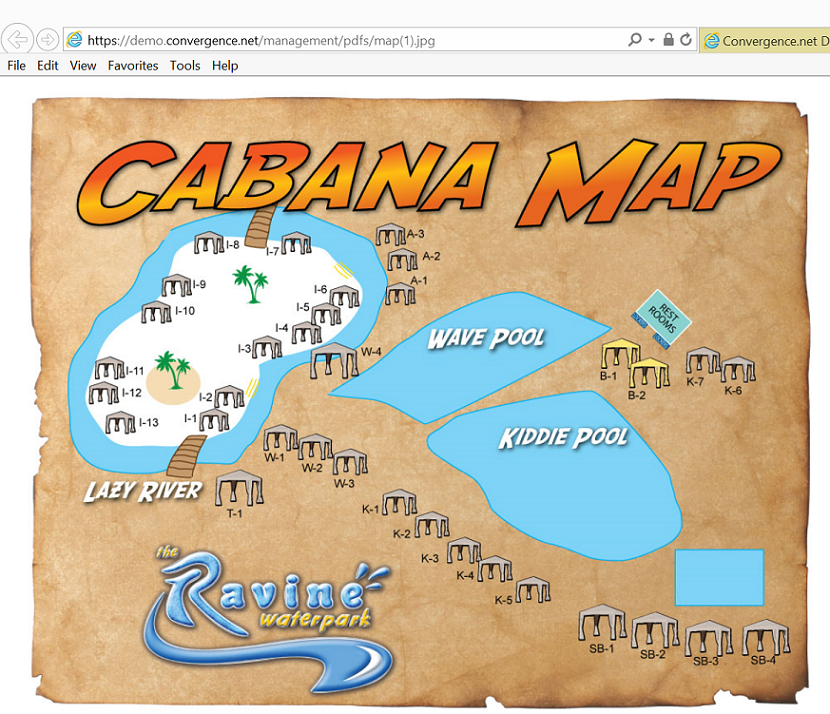 Step 3c.
 Highlight the entire URL in the address bar and copy it to the clipboard using CTRL-C
 Step 4. Add the Map to Reservations Page in Store Master Settings
The next step is to edit the intro copy of the Reservations Page using
Store Master Settings. The Reservations Page is the page the customer selects a date and cabana to reserve.
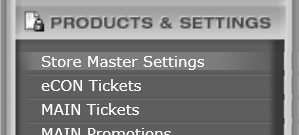
Step 4a. Click on
Store Master Settings in the
Products & Settings section. Your user account must have access to this area to proceed.
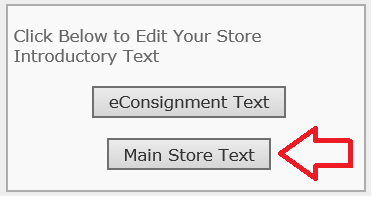
 Step 4b.
 Click on
Main Store Text.
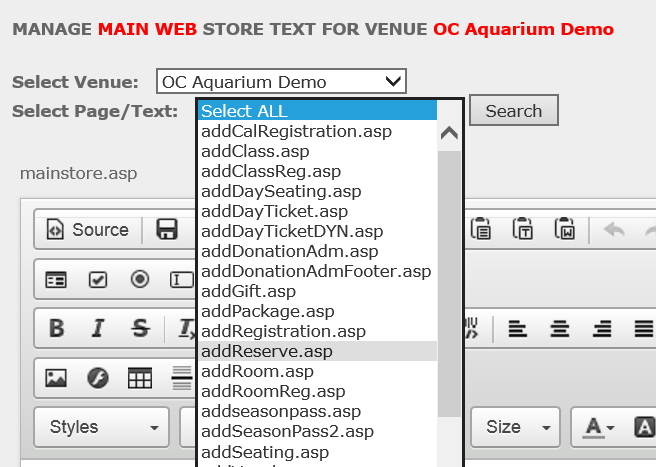
 Step 4c.
 Select the venue from the
Select Venue drop-down list if you have a multi-venue system
Step 4d. In the
Select Page/Text drop-down, select
addReserve.asp and then click on the
Search button.
 Step 4e.
 You will be presented with an editor and text field where you can edit the intro copy to the Reservations Page. Add/Edit the text as you would like it to appear on the Reservations Page.
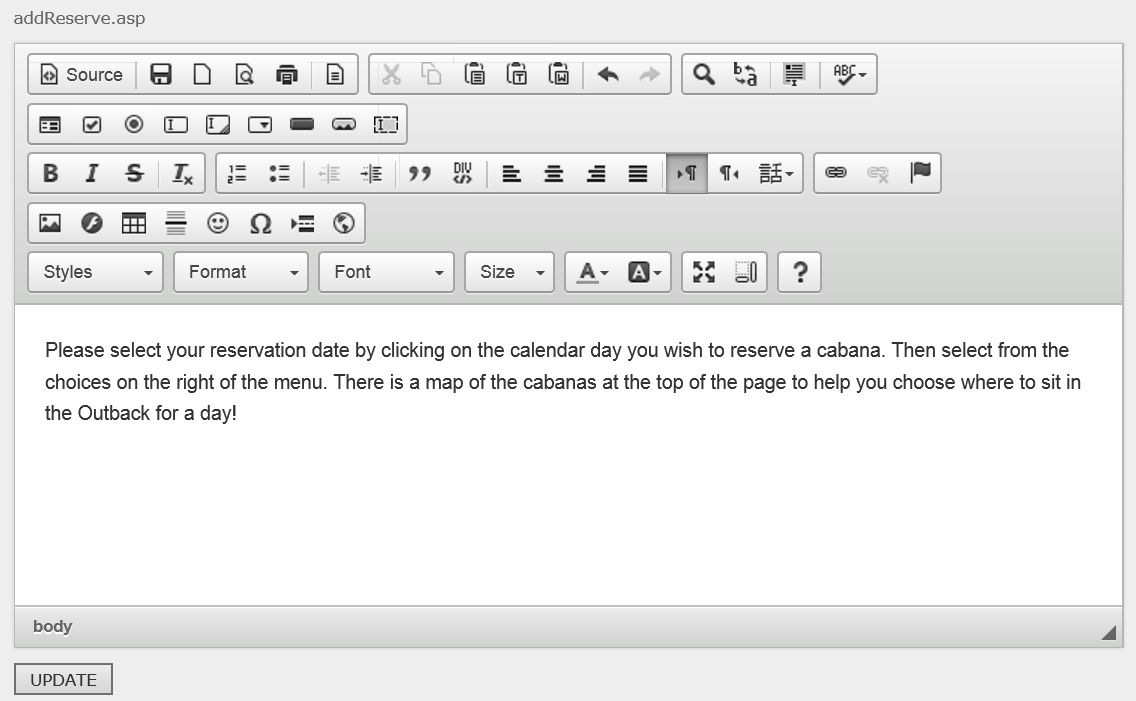 Step 4f.
 Click where you want the image to appear and then click on the image icon in the editor toolbar
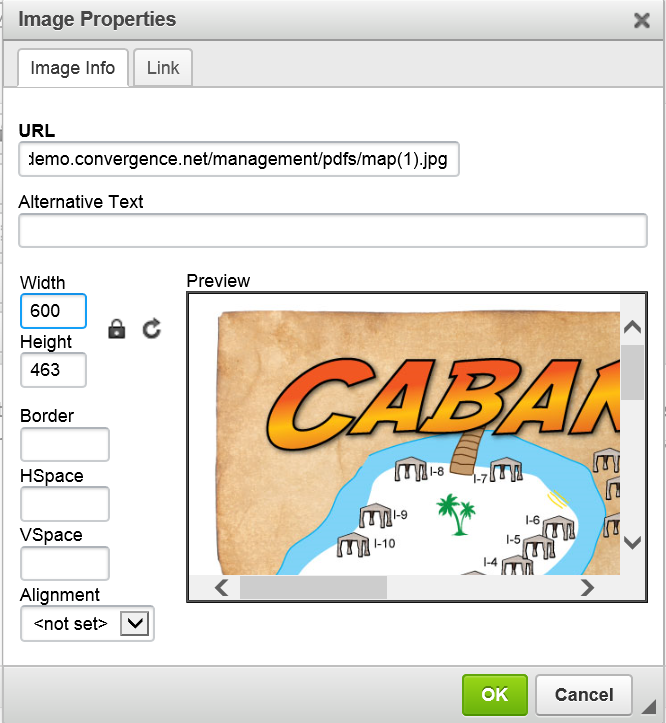
 Step 4g.
 In the modal that appears, Paste the link that you copied from Step 3c into the
URL field. You may also want to specify a width in the width field to keep your image from blowing out the page. Generally, you will want to keep the width of the image less that 800 pixels wide. When ready, click on the
OK button.
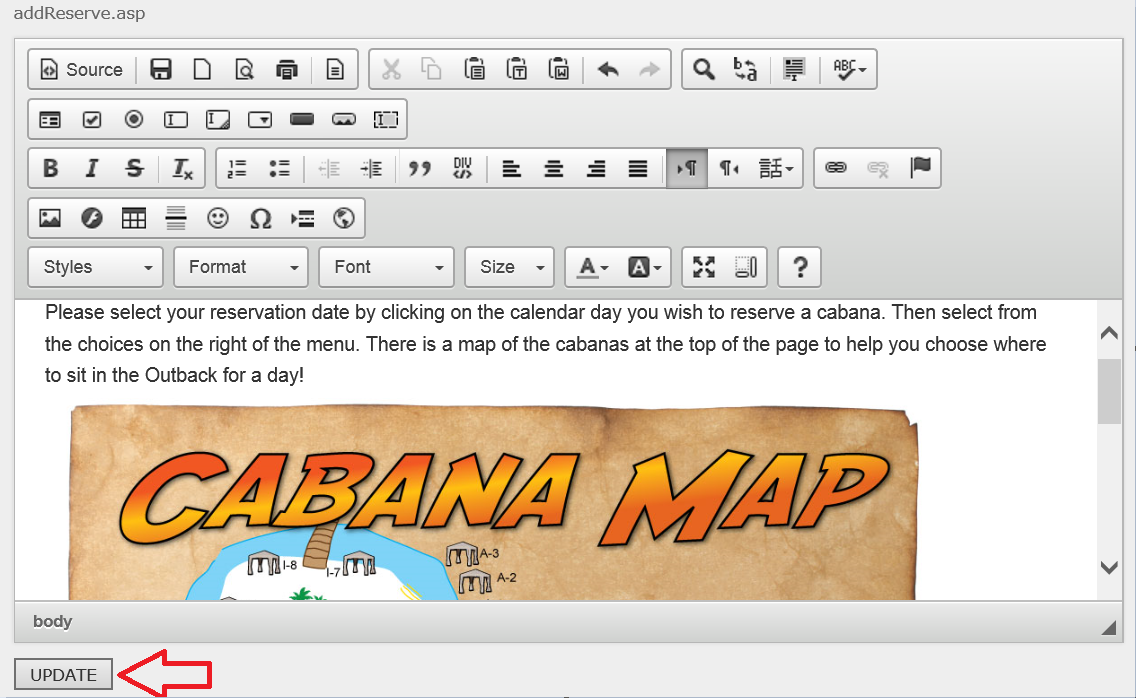
 Step 4h.
 Click on the Update button to save the content.
 Step 4i.
 Repeat the above steps for eConsignment Text if you sell cabanas in your affiliate stores.
Step 5. Review the map on the Reservations Page.Now that we've updated the copy for the reservations page, let's take a look at it on the front end to make sure that it is displaying properly.
Step 5a. Go to your main product store page
Step 5b. Add a cabana to your cart. The cabana map and the intro copy you edited should now appear at the top of the reservations (calendar) page.