| Steps | Screenshots |
First add the product in the Main Tickets:
1. Go to Main Tickets on the left side navigation bar under Products & Settings
2. Select the Category that you want the item sold under
3. Click on Add New Ticket
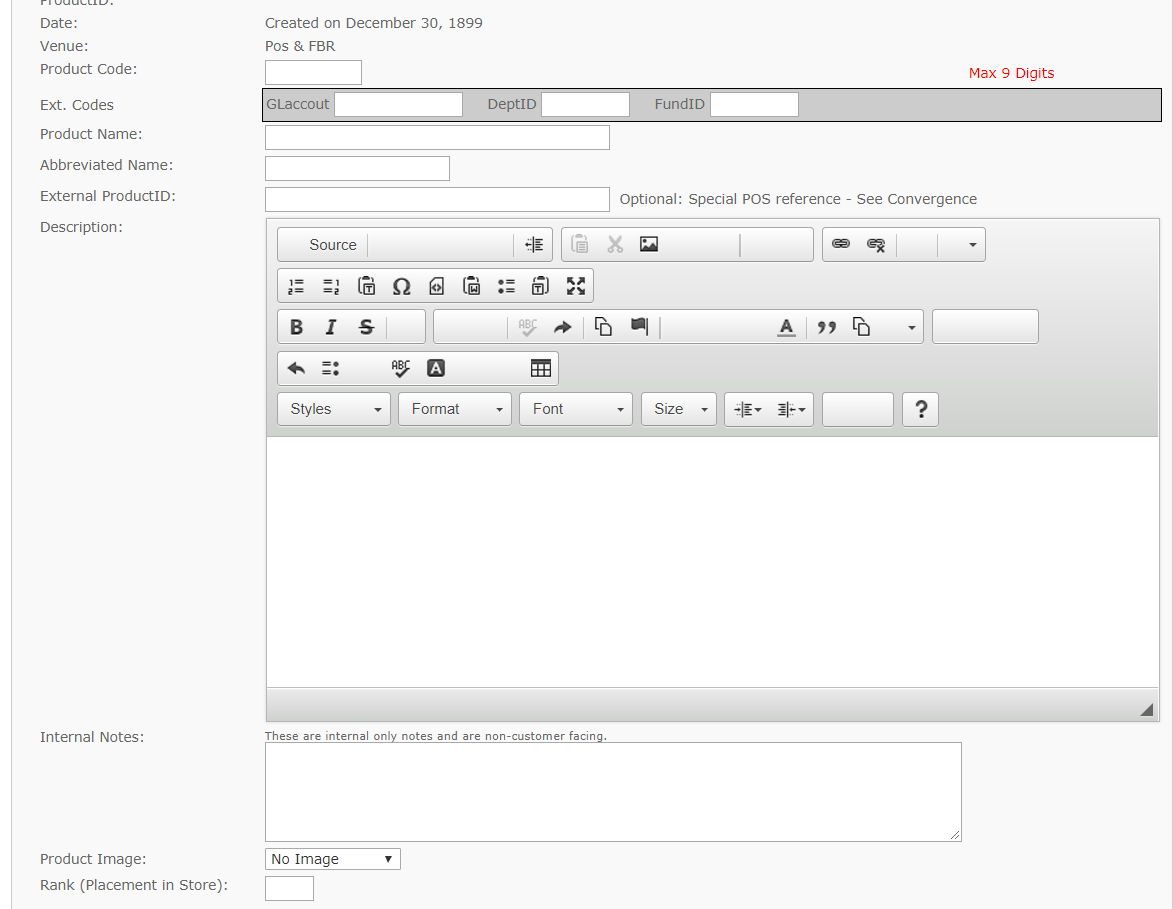
4. Create new ticket
|
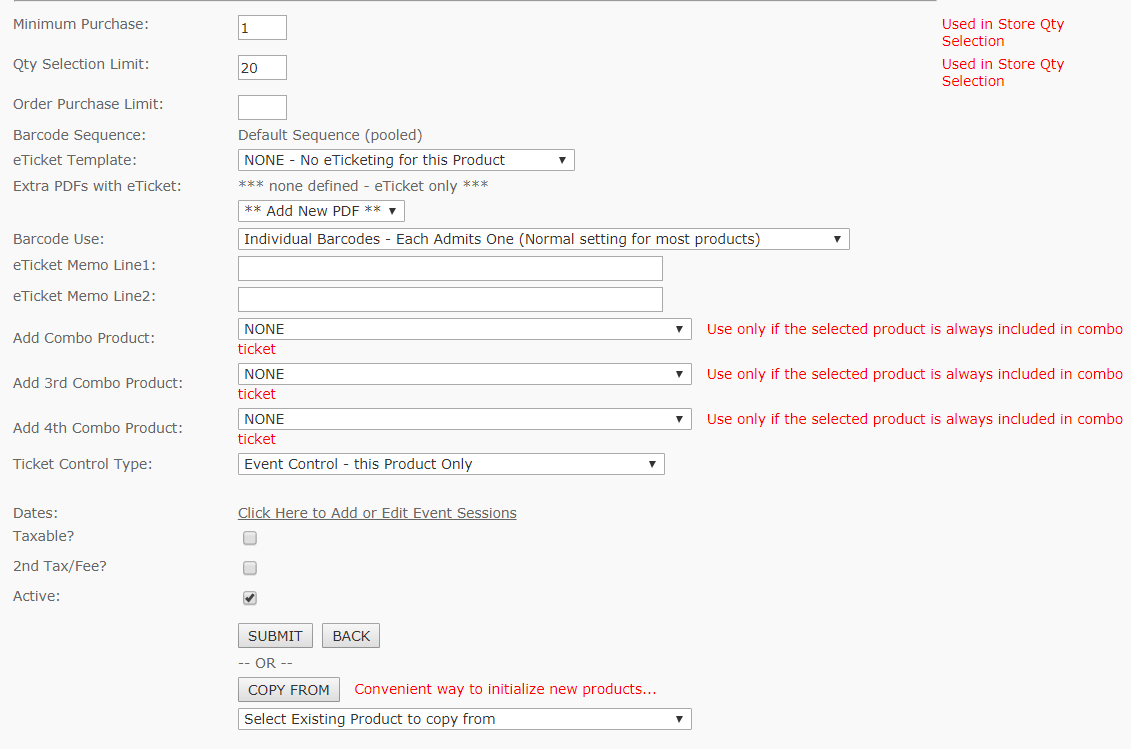
5. To add event Control: Ticket Control Type should be “Event Control- This product Only”.
|
|
6. Then right below it “Click here to add edit Event Sessions”
|
| Dates: | Click Here to Add or Edit Event Sessions |
|
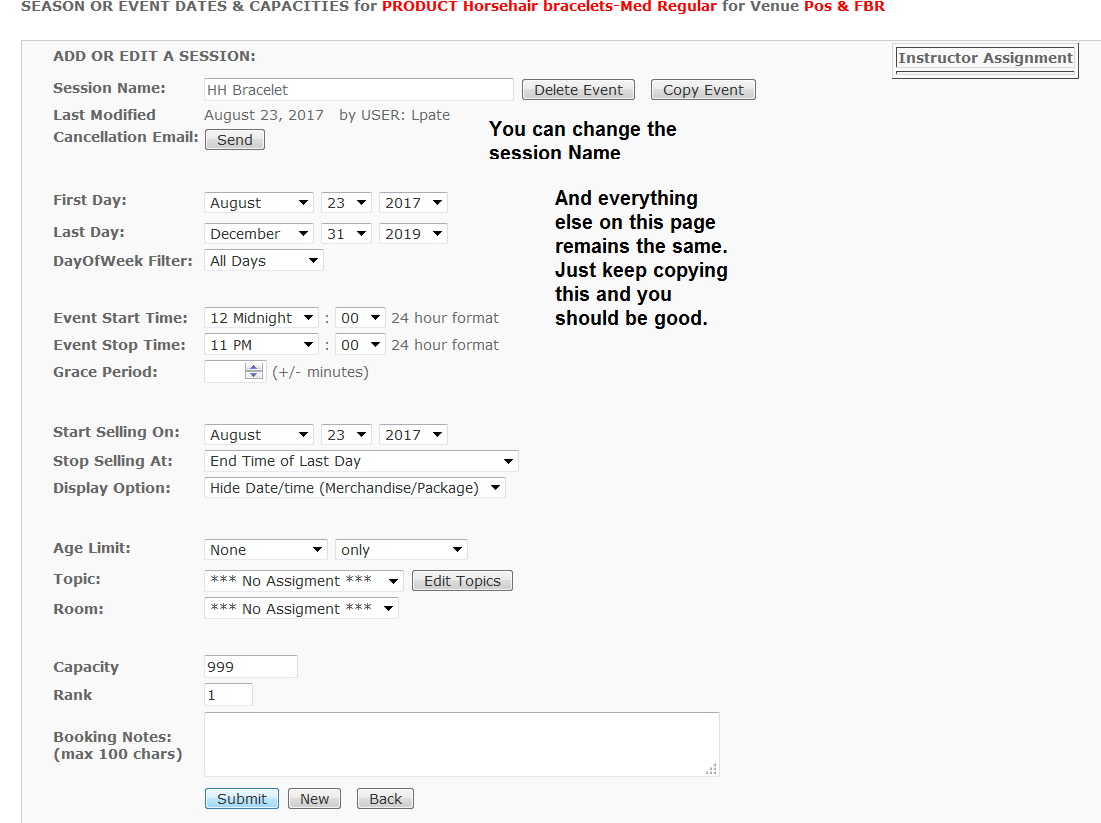
7. This will take you to the Event Sessions Page
8. Here you may follow the instructions for the creation of an item (like in the screen shot)
9. To create another similar item (ex- same shirt diff color & size) you can use the Copy Event Function (highlighted in the SS) and just change the session name and Display Option to (the option in the SS for Retail & food items ONLY) and hot the Submit Button.
|
|
HOW TO COPY A PRODUCT IN A CATEGORY
|
1. Select the Category that you want to add the product to. Then click on Add New Ticket.
|
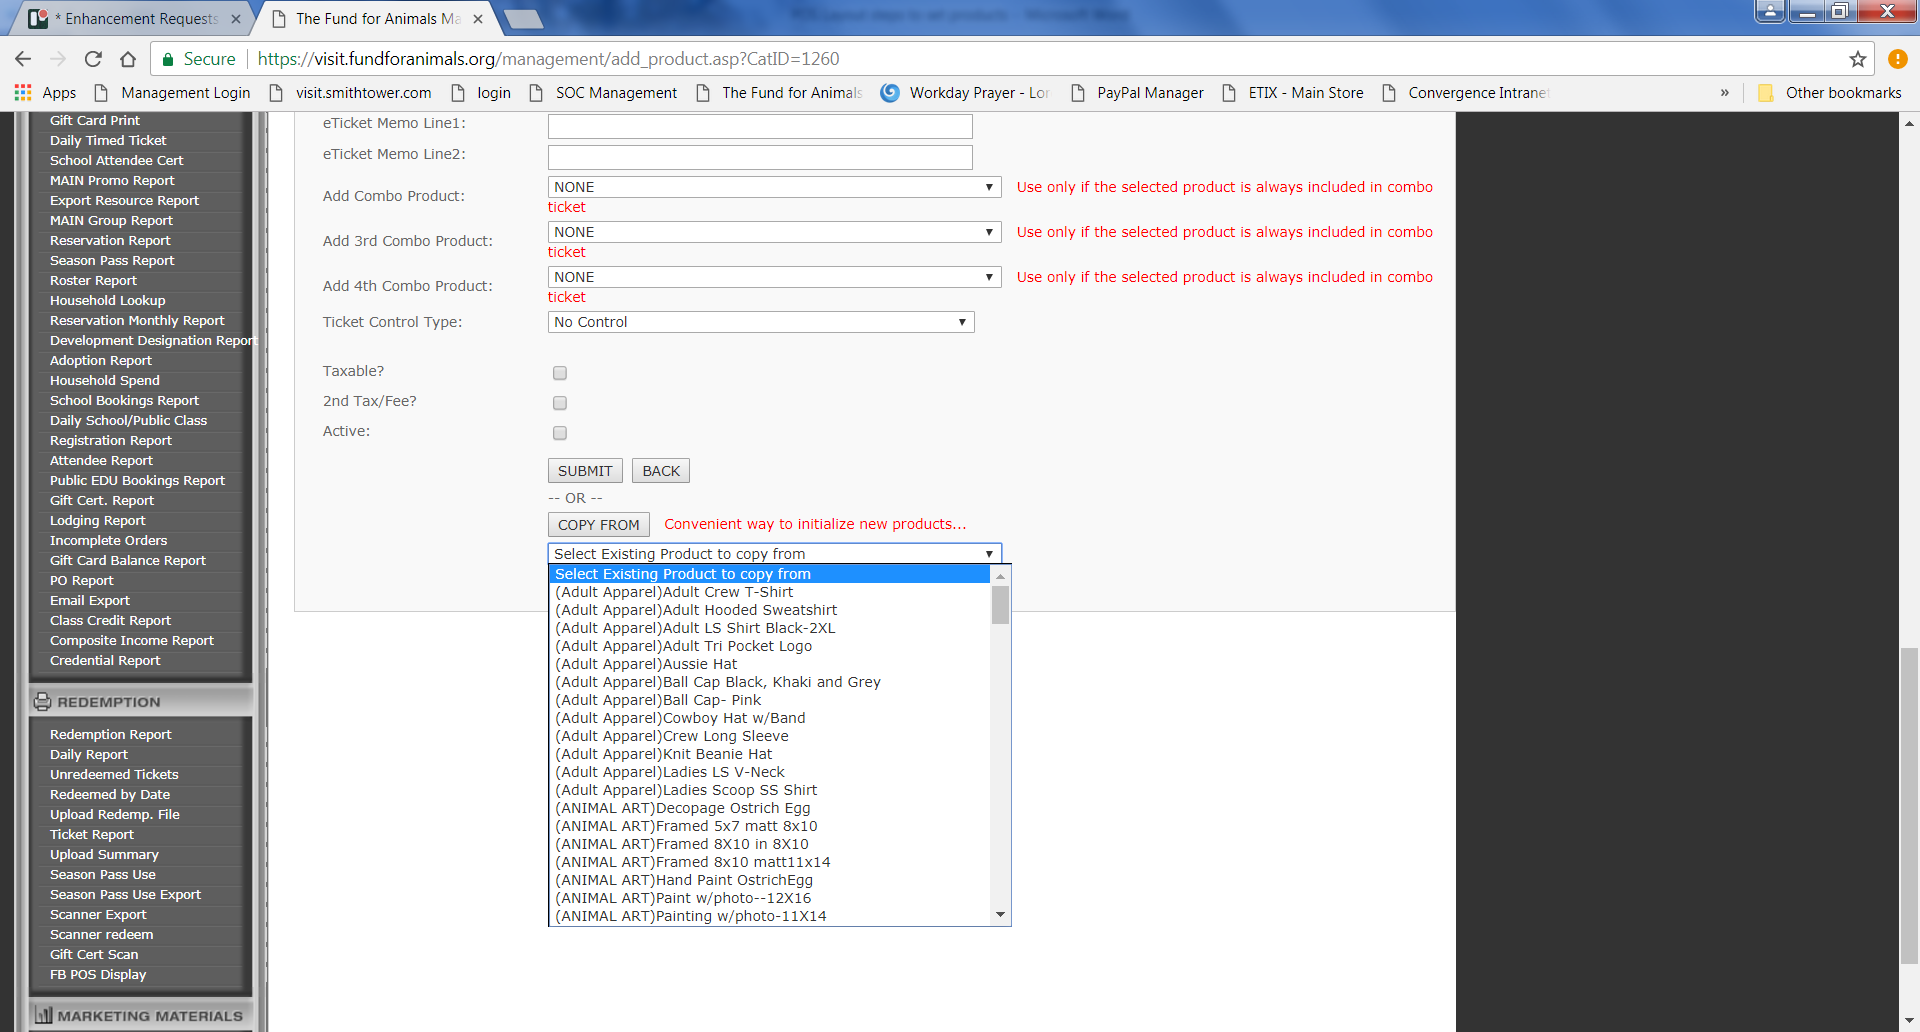
2. Go to the very Bottom of the Page and select the product that is similar to the one that you are trying to add from the drop down given there and then hit the ‘Copy From’ button.
|
|
3. Once Item is copied all you will need to change is the Product name, Product code and Rank
4. Then hit the Submit button at the bottom of the page. |
|
5. If you need to set up Event control for the item then you will have to go to step 4b above and set it up as the copy function copies ONLY the Product and not its associated Event Control sessions.
|
POS LAYOUT & POS LAYOUT SETUP
|
After you have created the Products in the Categories you will need to make sure that these are setup on the POS system (front end)
|
1. Click on POS Layout under ADMIN
2. This will take you to the POS Layout Manager. Click on the system under “Name” that you want to make changes to.
|
3. This will take you to the Page that has all the Categories that you have in the system.
|
4. Click on the page that you need to add the item to for ex- Gifts, food, drinks. You will be brought to this page. |

|
5. Here select the POS that you want to make changes to and then go down the list to the item that you want to add to the POS.
6. To add an item click on the item in the list and then click on one of boxes in the grid and then select the color that you want to give the item and click on the item in the box.
7. If you want to clear a box of an item, you click on “Clear Button” at the bottom and then click on the box that you want to clear on the Grid.
8. After you have made all the changes that you want to hit the SAVE LAYOUT button and your layout is saved.
|

