| Steps | Screenshots |
| Go to your ticketing website and type /management at the end of the URL. Then press enter. |  |
| Log in to the management dashboard. | 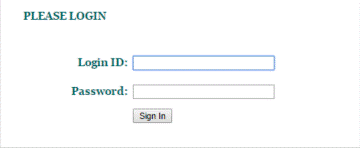 |
| Click on MAIN Tickets under Products & Settings. | 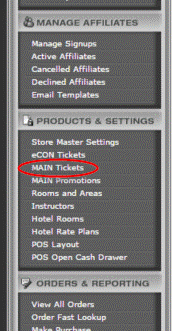 |
| Select a Category that you have already created. | 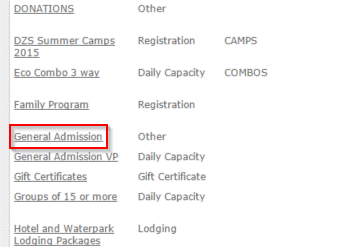 |
| Select the ticket that you would like to add an image to. |  |
| Click >Upload Image in the product image setting. | 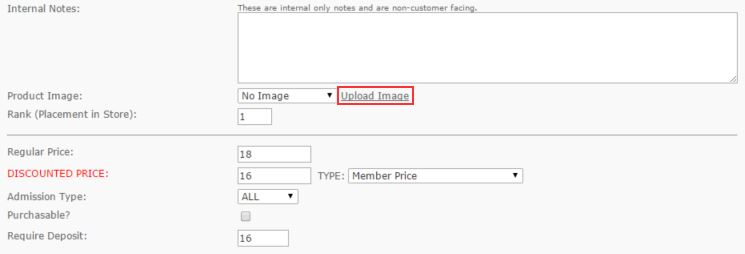 |
| In the new window that pops up select Choose File. | 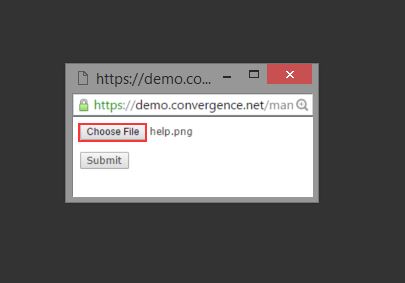 |
| Find and select the image you want to upload. Then click Open. | 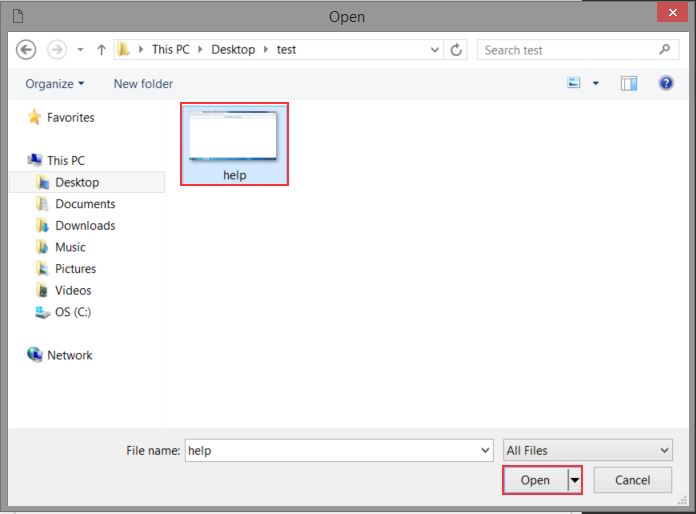 |
| Click Submit to upload to the file. | 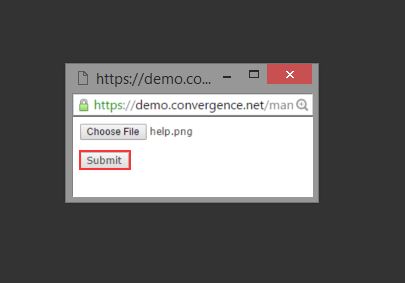 |
| Click the dropdown box for the Product Image setting. Then select whether you want the image to be on the Right or Left Side in the product description. | 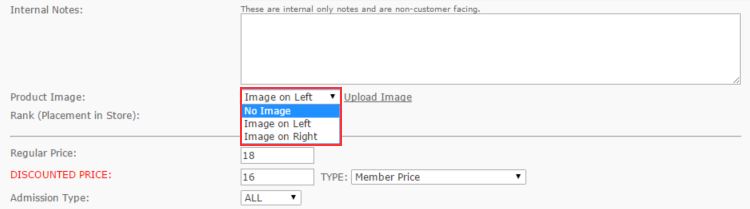 |
| Click the Submit button near the bottom of the page and you are all done. | 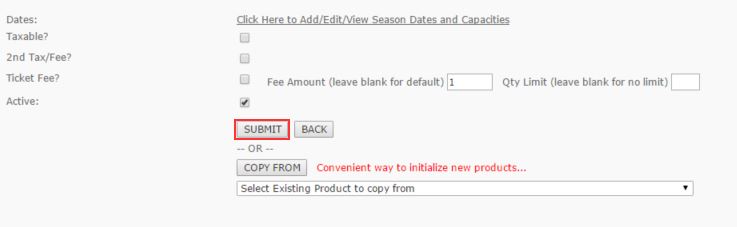 |

