| Steps | Screenshots |
Enable Variable Pricing on the Category
Go to your ticketing website and type /management at the end of the URL. Then press enter.
|
|
Log in to the management dashboard.
|
|
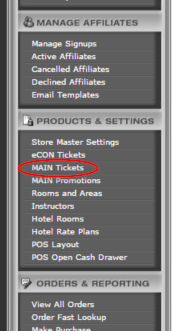
Click on MAIN Tickets under Products & Settings.
|  |
Click the pencil and paper edit symbol for the category that you want to enable variable pricing on.
|
|
Click the checkbox for Allow Variable Pricing.
|
|
Click Update at the bottom of the page to save the settings.
|
|
Set the Price Plan for Each Ticket
From the Manage MAIN Website Tickets page, click on the category that you enabled variable pricing on.
|
|
Click on the ticket that you want to add variable pricing too.
|
|
Select your preferred price plan from the first drop down box.
|
|
Select your pricing tier from the second drop down box.
|
|
Type the starting price of the ticket in the box after the two drop down boxes.
|
|
Create the Schedule
1. From the Edit Ticket page click the Click Here to Add/Edit/View Season Dates and Capacities link.
|
|
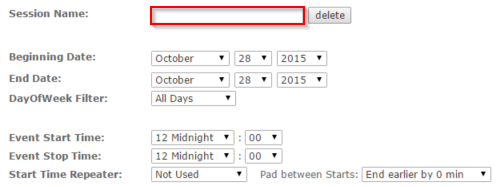
2. Set your Session Name.
|  |
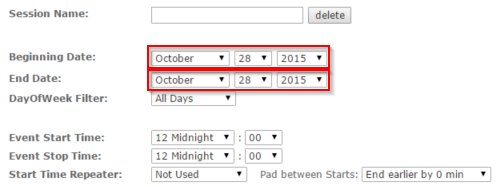
3. Set the Beginning and End Date of your season.
|
 |
4. Set the DayofWeek Filter that you would like. This will set the days of the week this session takes place.
|
|
5. Set the Event Start and Stop Time. This will set the time of day that the session will take place. |
|
6. Set the PriceCode. This will set the price of the ticket for each session.
|
|
7. Set the Capacity for a single day.
|
|
8. Set the Rank. This is where the session will be displayed in relation to the other sessions on the same day. |
|
9. Click the Submit button to create the schedule for this session.
|
|
Click the New button and repeat steps 1-9 to create a new schedule for a different session.
|
|

