Selecting a Future Date/Time on FBR POS Timed Ticket
We have added the capability to select a future date from the session control when adding a timed ticket to the cart from the FBR Application. You will now see a large button at the top that says, “Select Future Day From Calendar”. Please see figure 1.1 below.
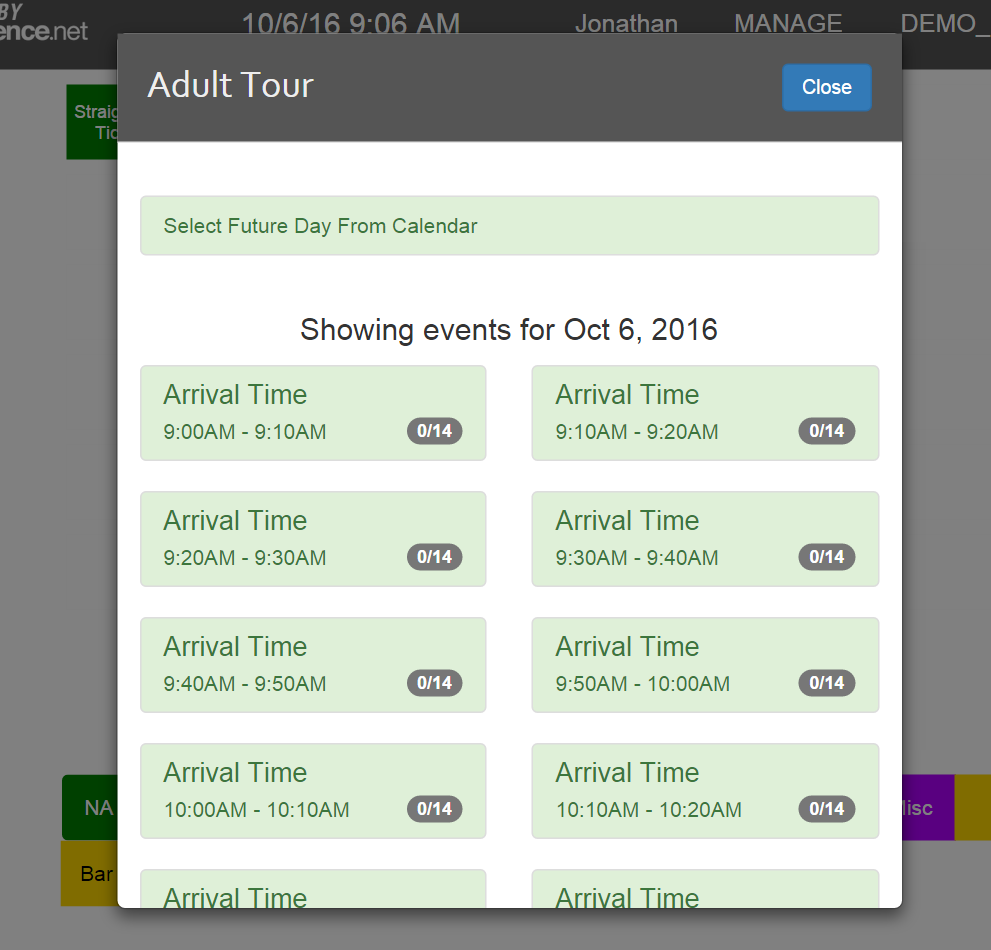 Figure 1.1 – Select Future Day From Calendar Button
 Pressing this button will open a new Calendar View which will enable you to select a future date other than today. Please see Figure 1.2
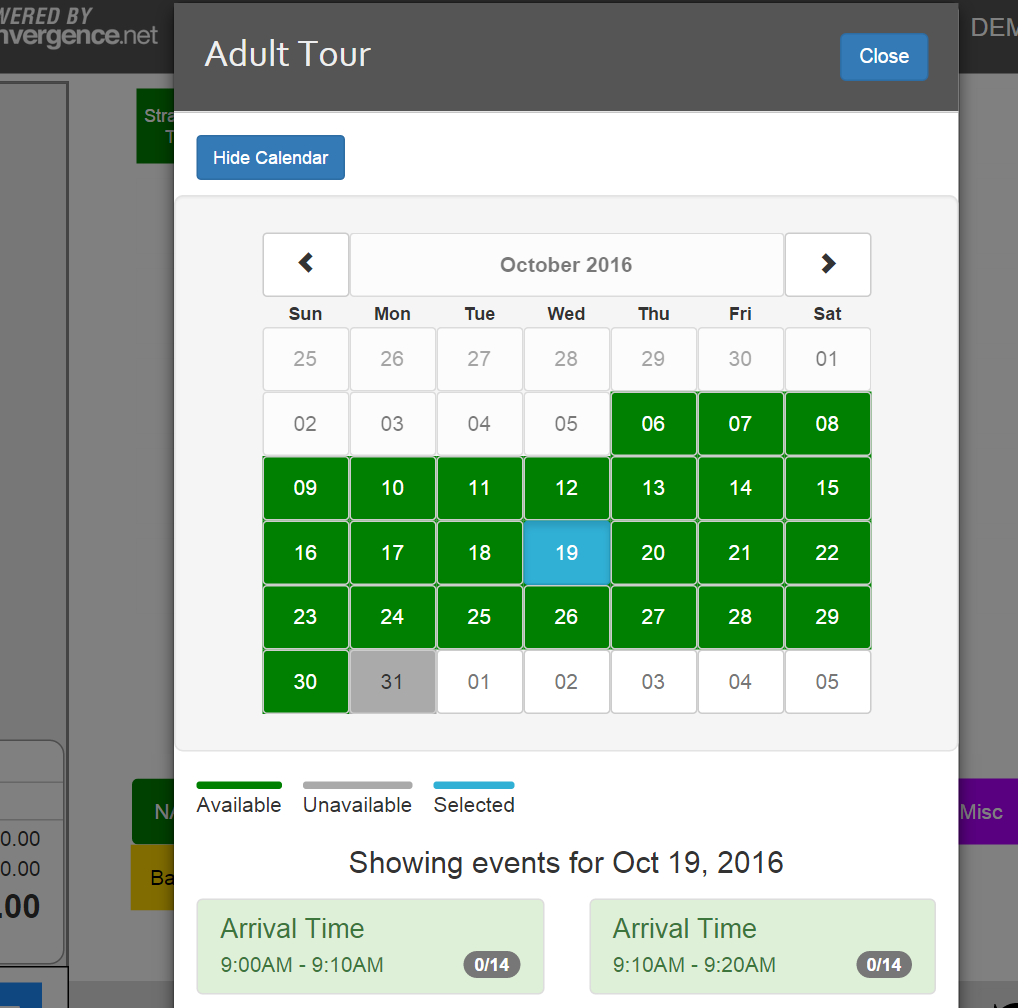 Figure 1.2 – Calendar Date Selection
You can select a future date by clicking on one of the dates on the calendar. Once selected, you will have the option of choosing one of the sessions that are available for that selected day. The date selected will be highlighted in blue as shown in the above figure. Any dates that are unavailable or have no sessions will have a grey background color. Scroll through months by clicking on the left “<” or right “>” buttons where the Month and Year are displayed. At any time you can hide the calendar by clicking on the blue ‘Hide Calendar’ button on the top left.
Each session box will have a Session Name (“Arrival Time” in the above example), a valid time, and an indicator of sold/capacity for that session.
Once you have selected a session on your chosen date, it will be added to the cart. To purchase multiples of the same session, simply click on the session button for each quantity desired.
When the transaction is completed, these tickets will be associated with the date and session time. Guests should arrive on their date/time for validation. If they don’t arrive on their designated date/time, you can still validated their tickets by turning the date override function on. This is located on the scanner module as seen in figure 1.3 below.
 Figure 1.3 – Date Override on Scanner Module
 For more information or for further assistance, please contact your Convergence Program Manager.


